
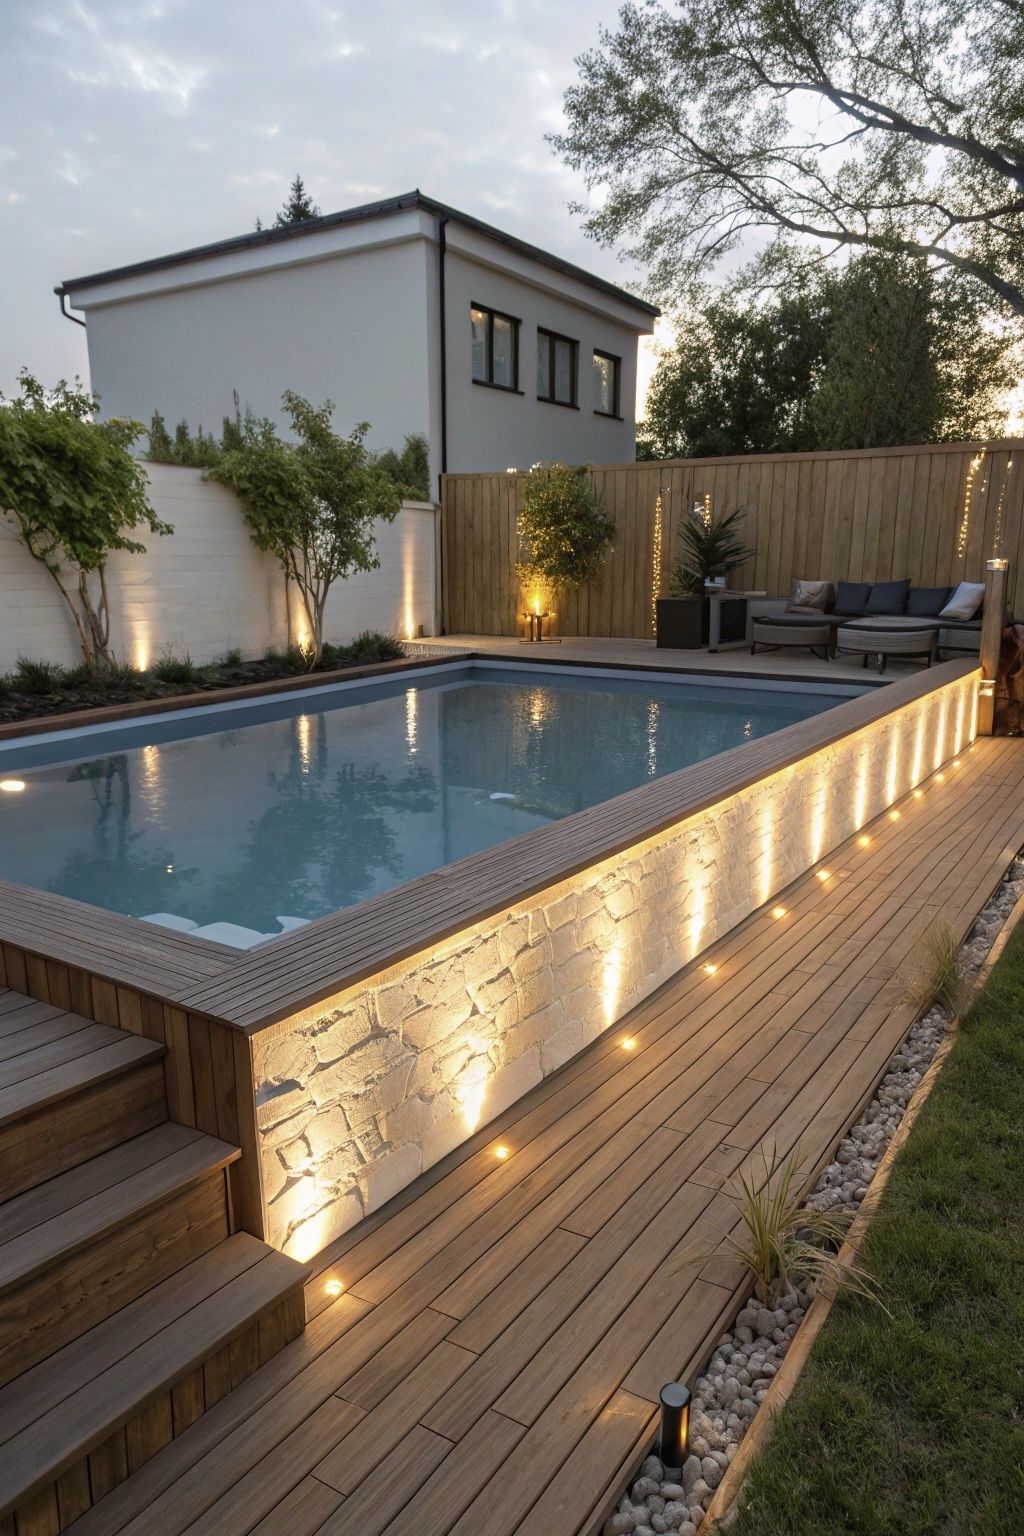
Close Right, Open Fast: Canada‑Proof Above‑Ground Pool Closing
January 17, 2026 10 min read
Follow our step-by-step, cold-climate guide with timing cues, equipment notes, and a printable checklist—built for Canadian above‑ground pools—so you skip spring surprises and reopen clear in under an hour.
Cold Snaps Punish Pools—Protect Yours Now
So how do you actually skip those spring surprises and open in under an hour? Freeze‑thaw pries at fittings, chemistry drifts out of range, and trapped leaves rot—result: liner wrinkles or tears, cracked skimmers, and pea‑soup water. Spring fixes add up fast: $120–$300 in chemicals, $200–$500 for a skimmer, $300–$1,200 for liner repairs, plus 4–8 hours of cleanup.
Now think about timing. Parts are back‑ordered in April, and a cracked fitting or ruined cover can delay opening 1–3 weeks. Warm‑water closings also burn chlorine quickly, creating “chlorine demand” (chlorine disappears fighting organics), so you need extra shocks and another weekend lost.
💡Save Big With a Clean Close
Close under 10°C (50°F) and start clear: save 4–8 hours, $120–$300 in chemicals, and avoid $300–$800 freeze repairs. Covers last 1–2 extra seasons with proper fit and water level.
Avoid These Costly Closing Mistakes
We see the same closing errors every fall, and each one turns into spring headaches. Skim this list, fix your plan, and you’ll avoid all of them.
- Do not drain: Empty shells collapse, liners shrink, and most warranties are void—always leave water to support the walls.
- Never plug skimmer: A solid cap traps ice pressure and cracks the throat—use a skimmer gizmo to absorb expansion.
- Unbalanced water: Low alkalinity or high pH causes scale, stains, and spring “chlorine demand”—balance right before you cover.
- Skip cleaning: Leaves and biofilm feed algae under the cover—vacuum and brush now, or fight green water later.
- Hoses attached: Trapped water freezes, expands, and cracks fittings or pump lids—disconnect, drain, and store everything dry.
- High waterline: Ice forms into the skimmer throat and shatters it—lower water to just below the skimmer opening.
- Rust and hardware: Loose rails and sharp rust chew covers and walls—tighten, pad edges, and replace corroded pieces now.
- Closing too early: Warm water keeps algae alive—wait until water holds under 10°C (50°F) for several days.
⚠️Critical Safety
Do not drain the pool and do not plug the skimmer. Safe close: leave water supporting walls, lower below skimmer, install a gizmo, blow out lines, and use winterizing plugs—never hard caps.
“Good Enough” Fails In a Cold Snap
Close while water is 12–15°C (54–59°F) and algae still eats: under a dark cover it blooms, clogging filters by April. One sudden freeze after rain, and a plugged skimmer or high waterline freezes solid—cracking the skimmer throat. Add wind: loose tarp edges flap, chafe on rails, and tear eyelets. Each hit costs money. Together, they stack.
Now stretch those issues over 4–6 months of Canadian winter. Every thaw dilutes sanitizer; every refreeze expands again. A sagging solid cover can hold 5–10 cm of water, stressing seams and letting rain slip under—fuel for algae. Straps relax, anchors shift slightly, and wind gets bolder. By spring, you’ve bought extra chemicals, repairs, maybe a new cover—and spent a full weekend instead of an hour.
Your Pool Closing Tools and Supplies Checklist
Instead of losing a weekend in spring, gather these now—close clean, once, with no mid-close store runs. We’ll show exactly where each item fits in the steps next.
- Durable leaf net, wall brush, and vacuum head sized for your pool and pole—tight fit makes cleaning faster.
- Fresh test kit/strips for pH, alkalinity, sanitizer—accurate readings beat guesswork before you shock.
- Closing shock, non-copper winter algaecide, and metal sequestrant—dose per label directions right before covering.
- Air compressor or shop vac for line blowout; wear eye protection and follow equipment pressure limits.
- Winter cover with matching cable/winch set—choose the exact size for your pool model.
- Cover clips or winter wrap to stop wind lift—double up in gusty yards.
- Skimmer plate or guard if your setup requires one; optional based on configuration.
- Return jet plug(s) sized to your fitting—measure threads to avoid slow leaks.
- Deep-bag leaf rake or mesh scoop—one pass pulls big debris fast.
- Pro Tip: Microfiber towels and two buckets—speed drying and keep wet/dry parts separated.
- Pro Tip: Stock small add-ons from our accessories collection to avoid mid-close store runs.
- Work gloves, safety glasses, and a wax pencil/marker for labeling plugs and unions.
🚚 Before You Start
Need anything? Our experts can size parts for you, we ship fast across Canada, and orders over $99 ship free—so you can close once and do it right.
Your Simple, Precise Closing Steps
Plan on 60–90 minutes depending on pool size and leaf load. Follow these exact steps, and your spring opening becomes a quick top‑up, reinstall, and balance.
Step 1: Test pH, alkalinity, free chlorine, and salt (if applicable). Document readings—snap a photo—so you can balance precisely before shock and verify in spring.
Step 2: Clean thoroughly—skim, brush walls, and vacuum. A quick pass with a robotic cleaner saves time and lifts fine debris before chemicals.
Step 3: Add closing shock, winter algaecide, and metal sequestrant per label. Circulate 4–8 hours (or overnight if above 10°C) to disperse fully.
Step 4: Lower water 10–15 cm below the skimmer opening. Do not drain fully—water supports walls and prevents liner shrinkage in cold.
Step 5: Remove hoses from skimmer and return; drain and store. Keep the skimmer open—do not plug it—so ice can expand into a gizmo, not plastic.
Step 6: Plug the return with a 1.5 inch Threaded Winterizing Duck Plug via our Duck Plug to prevent winter backflow.
Step 7: After storms, siphon or pump cover water using a 1 1/4 inch 27' Swim Flex Vac Hose to keep levels below the skimmer.
Step 8: Drain pump and filter, remove drain plugs, dry components, and store indoors. Follow your manuals—model‑specific steps protect warranties and prevent trapped water damage.
Step 9: Install the winter cover; center it, attach cable/winch, then add clips evenly. Tension uniformly around the pool to prevent lift and chafing.
Step 10: Walk the perimeter—tuck edges, add clips on windward sides, and apply winter wrap if needed. Confirm overlap and pillow position before you power down.
🚫Do Not Plug or Drain
Do not plug the skimmer. Do not drain the pool. Keep water 7–8 cm below the skimmer all winter to prevent ice pressure and liner damage.
Salt cells, pumps, filters: winter steps that protect gear
With the skimmer set and water lowered, let’s shut down your salt system properly. Set output to 0% three days before closing, then remove the cell, soak 10–15 minutes in the manufacturer’s solution, rinse, and dry the connectors. For example, the Hayward AQ‑Trol above‑ground generator likes a gentle acid clean. Prefer no extra chlorine? Use a non‑chlorine shock (MPS—potassium monopersulfate) before covering.
Not sure which parts fit your system? Browse our salt water systems for compatible unions, O‑rings, cell cords, and care tips.
Running a cartridge filter? Rinse pleats top‑to‑bottom, soak in cleaner, dry fully, and store indoors. If pleats are frayed or pressure climbs fast each cycle, replace with Hayward cartridges before spring.
Drain the pump housing and basket, remove drain plugs, and store indoors or under cover. Label plugs and O‑rings. Considering an upgrade? See Pentair pumps—then we’ll set winter water levels and cover tension.
Manage winter water levels and cover tension all season
Now let’s set winter water levels and dial in cover tension for your climate. Your region dictates level, cover choice, and check cadence—use the guidance below to match your winter conditions.
Standard Cold Winter
Most of Canada, typically from October through March.
- Target water level: Lower the water about 6 inches (15 cm) below the skimmer. Keep the skimmer open and allow the remaining water to continue supporting the pool walls.
- Cover setup: Use a standard winter cover. Secure the cable and winch evenly around the pool. Add extra clips on the windward side for added stability.
- Ongoing care: Pump off rain and snow promptly. Do a quick monthly inspection to check tension and remove debris buildup.
Extreme Deep-Freeze
Prairies or Northern Shield regions with long sustained sub-zero temperatures.
- Target water level: Lower water more than the standard recommendation. Keep the skimmer completely dry and confirm the gizmo is properly installed.
- Cover setup: Choose a heavy-duty winter cover. Minimize snow and ice accumulation. Consider double clips or even a secondary cable for reinforcement.
- Ongoing care: Inspect after every major cold snap. Never allow water to rise back into the skimmer throat.
Windy or Heavy-Snow Exposure
Coastal gust zones or open yards with strong winds.
- Target water level: Maintain the standard level but monitor closely for wind lift and sudden overnight drops.
- Cover setup: Add extra clips or winter wrap for reinforcement. Let the cover rest lightly on the water for structural support.
- Ongoing care: Clear drifting snow using a soft broom. If edges begin lifting, re-tension immediately.
Mild Shoulder Season
BC Lower Mainland or late-fall closing.
- Target water level: Close when water drops below 12°C (54°F). After closing, maintain level carefully through rainy periods.
- Cover setup: A standard winter cover works well. Tension evenly and prevent flapping at the corners.
- Ongoing care: Monitor autumn rainfall. Pump off excess water quickly to prevent overflow into the skimmer.
A few quick rules prevent small issues becoming repairs. Do these monthly winter checks—then see our quick example of this paying off.
- Do: Check monthly and after storms for tension, pooling water, loose edges, and torn clips
- Do: Pump off standing water on solid covers as soon as you notice pooling
- Do: Keep water at least 3" (76 mm) below the skimmer opening all winter
- Don’t: Smash, chip, or pry ice—let it melt naturally to protect liners and covers
- Don’t: Overtighten the cover to the frame; allow slight flex to avoid stress
- Don’t: Plug the skimmer at any point—use a gizmo to absorb expansion
Seat and tension your winter cover for a wind-proof fit
With the skimmer protected by a gizmo and your water level set, thread the cable through every grommet and feed both cable ends into the winch. Wondering about sizing? A 12' round winter cover should overhang evenly all around. Center the cover, let it rest lightly on the water (it needs that support), and smooth out wrinkles. In windy yards, add clips or a single pass of winter wrap around the top rail before you finish tightening.
Now tighten with the winch in small steps: 3–4 turns, walk the perimeter, tug the hem, repeat. We aim for even tension—firm but not drum-tight—so every grommet shares the load. The cover should kiss the water across the center; if it floats high, loosen slightly; if it sags deep, raise water a bit or ease tension. For wind-proofing, place extra clips on windward sides every 18–24 inches (45–60 centimetres) and add cross-wrap in gaps; recheck after first freeze/thaw and give a quarter-turn where needed.
Proof: Close Right, Open in Under an Hour
Those little quarter‑turns on the winch paid off. Southern Ontario, 18' round above‑ground closed at 8–9°C using our winter kit and a centered pillow. Spring result: crystal‑clear water, intact skimmer, clean liner—opened in 45 minutes. No clarifier, no shock marathon. They saved roughly $150–$250 in chemicals and 4–6 hours of cleanup by waiting for cold water, vacuuming spotless, and pumping cover water monthly.
Different climate, same playbook. Quebec, 16×32 inground with a mesh safety cover: we balanced pH (acidity/alkalinity) to 7.3, added sequestrant and winter algaecide, blew out lines, and set water 6 inches below the skimmer. April check: zero algae, heater and returns undamaged, 60‑minute open. They skipped a $300 spring chemical haul and avoided a $400–$600 skimmer repair. Got a hiccup? Our troubleshooting section answers the most common winter questions fast.
Quick Pool Closing Fixes: Q&A
Got a hiccup? Here are fast answers you can scan in seconds—fix it now, then grab your kit and printable checklist next.
- Suspected leak? Mark the waterline with a wax pencil, place a bucket test, note daily loss, and observe 10–14 days. Pause pumping cover water until confirmed.
- Green tinge before closing? Wait for water under 10–12°C, run pump, shock per label at dusk, circulate, then re‑test next morning. If clear, proceed to winterize.
- Heavy rain raised the level? Siphon or pump down to 5–7 inches below the skimmer opening, then re‑tension the cover and resume normal checks after storms.
- Rusty fasteners or rails? Wire‑brush to bright metal, wipe clean, spot‑prime with anti‑rust paint, and replace severely pitted parts to protect the cover through winter.
- Small liner tear? Use an underwater vinyl patch; cut round corners, press, smooth bubbles, and hold per kit instructions. Recheck seal after 24 hours, then close.
- Wind keeps lifting? Add extra clips every 18–24 inches, a pass of winter wrap, and even perimeter tension. Let the cover rest on water for support.
- When should I close? Target water under 12°C, ideally near 10°C. Cold water halts algae metabolism, so shock and algaecide last through winter under the cover.
- Salt system winter mode? Set output to 0%, turn off breaker, remove and clean cell per manual, dry connectors, and store or reinstall with unions open.
Your Canadian Winterizing Experts
Before you hit Shop closing supplies, here’s who’s helping you. We’re K&J Leisure—Canadian pool advisors. We’re customer‑first: fast shipping Canada‑wide, and easy returns.